
Building on a Wyoming Lot: Site Preparation, Excavation, and Drainage Basics
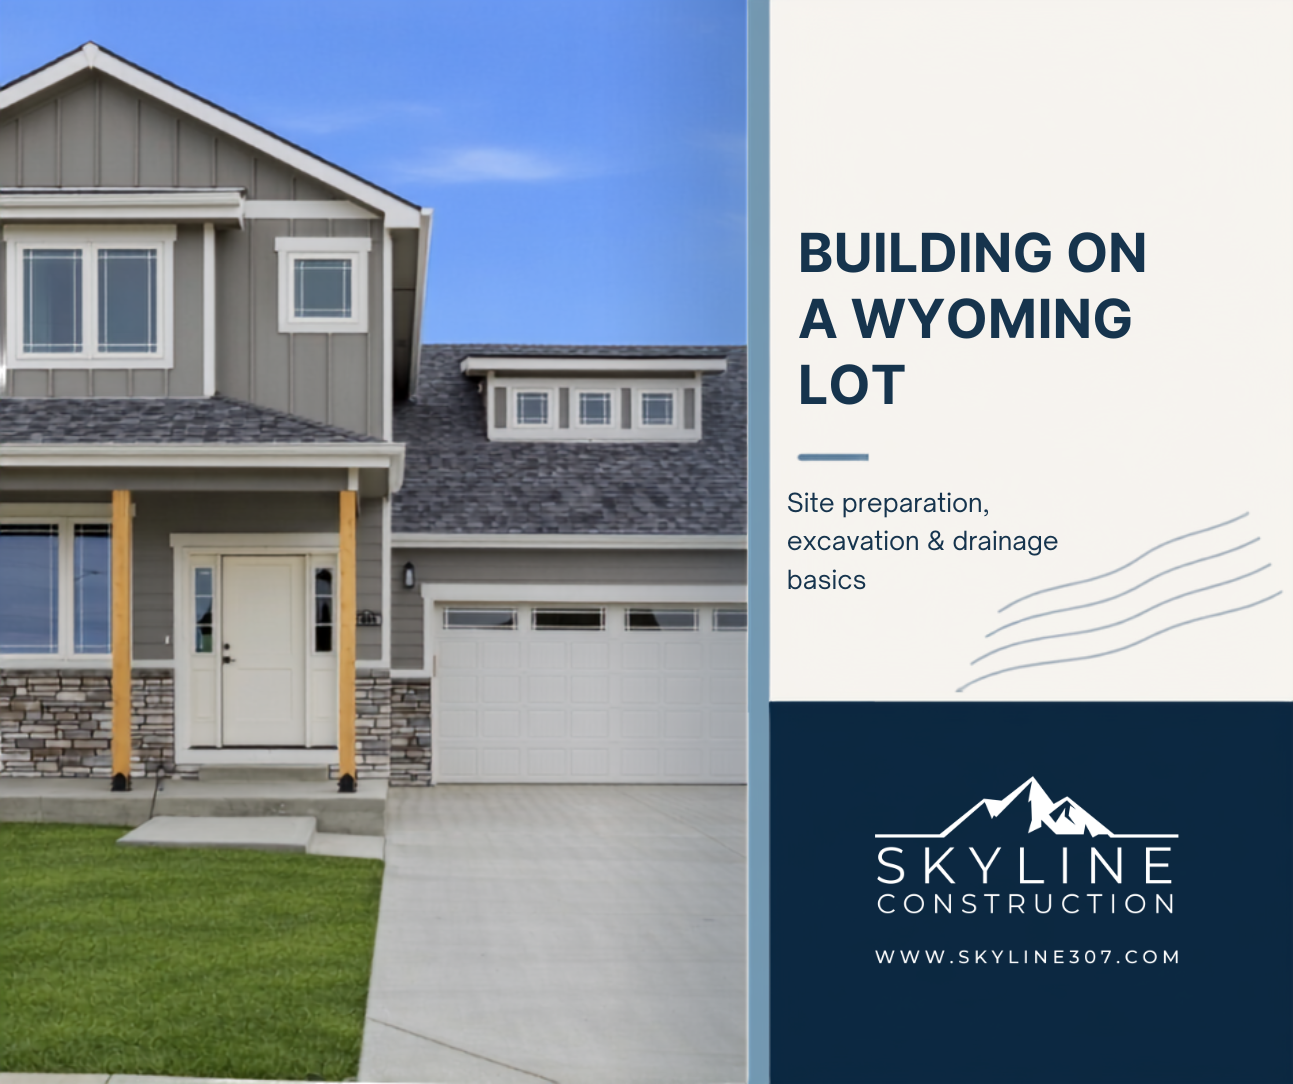
A practical guide to grading, soil, access, utilities, excavation, and drainage before new construction begins in Casper and Natrona County
A beautiful home starts long before framing. It starts with the land beneath it. For anyone planning a new build in Casper or the surrounding communities, site preparation can influence foundation design, driveway access, utility costs, drainage performance, construction timing, and the long-term durability of the property.
Good site preparation in Casper, WY is not simply a matter of clearing dirt and digging a hole. The lot, home plan, foundation, access, utilities, and final landscape must work as one system. Addressing those pieces early gives the builder a clearer scope and helps reduce avoidable changes once heavy equipment is already on the property.
1. Treat the Lot and Home as One Design Decision
A floor plan that works well on paper may not fit every lot equally well. The home's position affects excavation depth, foundation exposure, driveway slope, garage approach, utility routes, outdoor living areas, snow management, views, sunlight, privacy, and drainage.
Before finalizing the house placement, review the property's slope, high and low points, existing drainage paths, street elevation, neighboring grades, vegetation, access, and available utility connections. On a sloped site, a different foundation or garage orientation may reduce unnecessary cut and fill. On a flatter site, even small elevation decisions can determine whether water moves away from the home or collects near it.
2. Confirm Boundaries, Setbacks, Easements, and Access
Site planning should begin with reliable property information. Surveyed boundaries, required setbacks, utility and drainage easements, rights-of-way, and community or subdivision requirements can limit where the home, driveway, retaining features, and utilities may go.
Construction access also deserves early attention. Large trucks and equipment need adequate width, turning room, overhead clearance, and a stable route. A rural or undeveloped lot may require temporary access before excavation begins. Planning that route helps protect neighboring property, existing pavement, curbs, utilities, and parts of the lot that should remain undisturbed.
3. Understand Soil Conditions Before Excavation
Soil can vary across a single property. Topsoil, fill, clay, sand, gravel, weathered rock, shallow bedrock, expansive material, and groundwater can affect excavation, compaction, drainage, and foundation recommendations. Previous grading or buried fill may also change what the crew encounters.
The USDA Web Soil Survey can provide useful general information for early planning, but it is not a substitute for site-specific investigation. Depending on the lot and the proposed home, the design team may recommend test pits, geotechnical evaluation, compaction testing, or other field review. The goal is to understand the ground before relying on it to support the structure.
4. Coordinate Utilities and Locates Before Digging
Identify how water, sewer or septic, gas, electricity, communications, and any private systems will reach the home. Utility availability, connection points, trench routes, required separations, depth, slope, and easements can affect the house location and site-work budget.
Before excavation, Wyoming 811 requires homeowners and excavators to submit a locate request or call 811 at least two full business days before the intended excavation. Public utility locates are an essential safety step, but private lines or systems on the property may require separate locating. Utility planning should be coordinated with the contractor and the appropriate providers before equipment begins work.
5. Establish Rough Grade and Finish Grade
Rough grading shapes the site for construction. It may include clearing, stripping and storing topsoil, establishing access, cutting high areas, filling low areas, creating the building pad, and setting temporary drainage. Finish grading happens later and brings the site to its intended final elevations around the home, driveway, walks, patios, and landscape areas.
Both stages should follow a coordinated elevation plan. The foundation, garage slab, driveway, entry walks, patios, window wells, mechanical equipment, and planned landscaping all depend on compatible elevations. If those pieces are decided separately, the project may end up with steep transitions, low spots, buried siding, exposed foundation, or awkward steps.
6. Design Drainage Before the Foundation Is Built
Water follows grade, so drainage should be planned before excavation changes the natural shape of the lot. A complete approach considers surface runoff, roof water, downspout discharge, driveway drainage, foundation drainage, window wells, retaining features, swales, and where water can move safely beyond the building area.
The finished grade should generally encourage water to move away from the home while respecting neighboring properties, easements, streets, and approved drainage paths. The exact solution depends on the lot. It may use positive grading, swales, drains, culverts, drainage rock, extensions, or engineered features. The important point is to give water a deliberate path rather than hoping it will find one after construction.
7. Coordinate Excavation With the Foundation Plan
Excavation dimensions and elevations must match the approved foundation design. The crew needs clear information about the building layout, footing elevation, wall configuration, basement or crawlspace, over-excavation requirements, working room, frost-related details, and any stepped foundation sections.
The excavation also needs a safe, workable sequence. Spoils must be placed where they will not overload excavation edges, block access, interfere with utilities, or contaminate stored topsoil. If rock, unsuitable material, groundwater, or unexpected fill is encountered, the contractor and design team should evaluate the condition before covering it or changing the plan in the field.
8. Plan the Driveway, Equipment Route, and Staging Areas
A homesite is also a temporary workplace. Excavators, concrete trucks, delivery vehicles, cranes, dumpsters, and trade vehicles need access throughout the build. Designating entry points, material storage, parking, equipment staging, and waste areas can keep the site more organized and reduce damage.
Think beyond the construction period as well. The permanent driveway should support daily use, drainage, snow removal, turning movements, and a practical garage approach. Base preparation, drainage, and final paving or concrete should be coordinated so completed surfaces are not installed too early or repeatedly crossed by heavy construction traffic.
9. Manage Topsoil, Cut, Fill, and Compaction Deliberately
Not every pile of excavated material should be treated the same. Topsoil may be valuable for final landscaping, while structural fill must be suitable for its intended use and placed in controlled lifts with appropriate moisture and compaction. Unsuitable soil, debris, or excess material may need to be removed from the site.
A clear earthwork plan identifies what will be stripped, stored, reused, imported, exported, and tested. This matters below slabs, foundations, driveways, patios, walks, and other improvements where settlement could create future problems. It also helps the owner understand whether excavation pricing includes hauling, imported material, testing, and final grading.
10. Protect the Site From Erosion and Weather
Casper's wind, sudden storms, snow, freezing temperatures, and seasonal moisture can change site conditions quickly. Exposed soil can erode, blow, rut, or become difficult to compact. Temporary drainage, stabilized access, covered or protected material, erosion controls, and timely backfill can help keep the project moving.
Weather should also influence sequencing. Excavation, concrete, underground utilities, backfill, and final grading each have different site and temperature needs. A realistic schedule includes time for required reviews, utility coordination, testing, weather delays, and corrective work rather than treating site preparation as a single one-day activity.
11. Compare the Site-Work Scope, Not Only the Price
Excavation proposals can look similar while covering different work. One price may include clearing, topsoil stripping, building excavation, backfill, compaction, utility trenches, hauling, imported fill, rough grading, finish grading, drainage work, testing, and cleanup. Another may include only a portion of that scope.
Ask for written inclusions, exclusions, assumptions, unit rates, and allowances. Clarify who provides surveying and layout, who coordinates utility locates, where excess soil will go, what happens if rock or unsuitable material is found, and how changes will be documented. Clear responsibility is one of the best ways to reduce confusion when conditions differ from what was expected.
Questions to Resolve Before Site Work Begins
Is the property survey current, and are boundaries, setbacks, easements, and access points confirmed?
Has the home been positioned using actual site elevations and drainage conditions?
Is additional soil or geotechnical evaluation recommended for this lot and foundation?
Are utility connection points, private lines, trench routes, and locate requirements understood?
Does the scope identify clearing, excavation, backfill, compaction, hauling, imported material, grading, drainage, and testing?
Where will equipment, deliveries, spoils, topsoil, and construction traffic be staged?
How will water be managed during construction and after final grading?
Who approves changes if rock, groundwater, fill, or unsuitable soils are discovered?
Build the Site Before You Build the Home
Site preparation sets the conditions for everything that follows. When the lot, foundation, access, utilities, earthwork, and drainage are planned together, the construction team can work from a clearer scope and the finished property is more likely to function as intended through Wyoming's seasons.
Explore Skyline's New Construction Gallery to see homes built throughout Casper and Natrona County, and review Skyline's Concrete and Asphalt Services for related driveway and site-surface work. When you are ready to evaluate a lot or begin planning a new build, Contact Skyline Construction to discuss site preparation for your Casper-area project.
Call (307) 225-9399
email info@skyline307.com
Find us at 1971 E Yellowstone Hwy, Casper, WY 82601
Visit us at skyline307.com