
Basement Moisture Often Starts Outside: Drainage Problems to Fix Before Snow
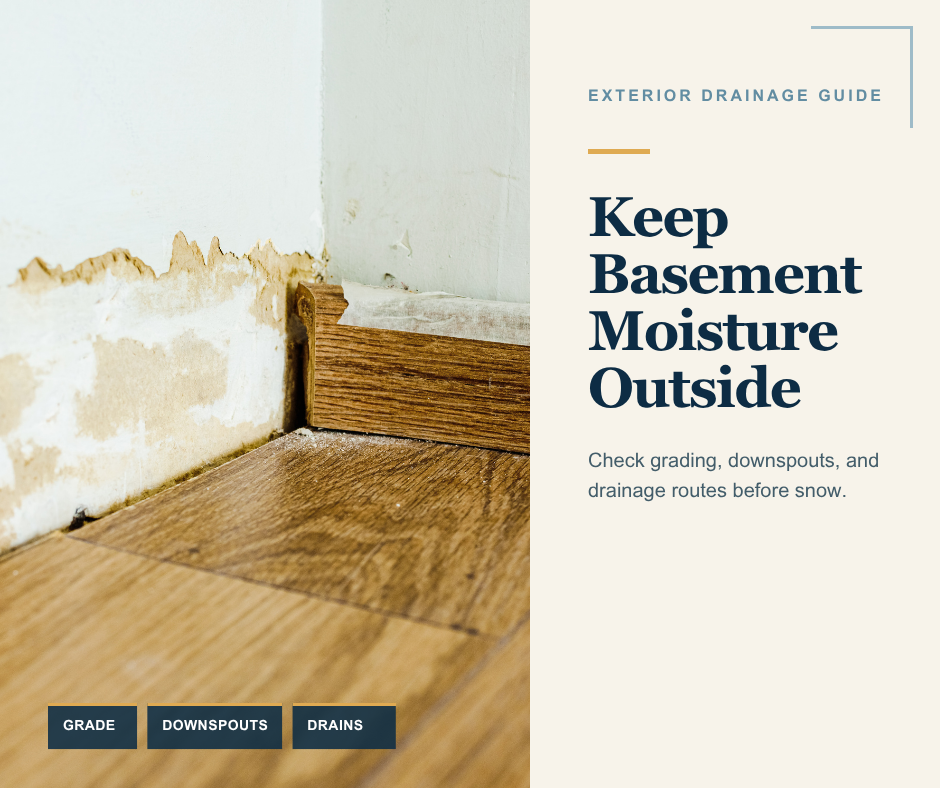
How grading, downspouts, settled soil, and blocked drainage routes affect Casper homes
A damp basement does not always begin with a plumbing leak inside the house. Roof runoff, short downspout discharge, settled backfill, low areas beside the foundation, and blocked drainage routes can place water against the exterior of the building. Snow can hide those conditions for months and then release a large volume of meltwater during a warm spell.
For homeowners searching for a drainage contractor in Casper, WY, early fall is a practical time to inspect the entire path water follows—from the roof to the ground and away from the property. The goal is not to diagnose every moisture problem from one stain. It is to identify exterior conditions that repeatedly direct water toward the foundation and correct them before winter makes the work harder.
Skyline’s guide to site preparation, excavation, and drainage basics explains why the house and lot should be treated as one system. Use it with the pre-winter exterior checklist for a complete walkaround.
Why Exterior Water Management Matters
A roof can collect a surprising amount of water during one storm or thaw. Gutters and downspouts concentrate that water at specific discharge points. If those points are too close to the house, disconnected, blocked, or aimed into a settled area, soil beside the foundation can become repeatedly saturated.
Foundation waterproofing and drainage components are important, but they should not be asked to manage avoidable surface water indefinitely. Positive grading, reliable roof drainage, working swales or drains, and planned snow storage reduce the amount of water reaching the foundation in the first place.
1. Start at the Roof Edge
From the ground, check whether gutters are attached, properly aligned, and free of visible debris. Look for staining, erosion, or splash marks below roof valleys and gutter joints. During a safe rain event, observe whether water overshoots the gutter, leaks at seams, or pours behind it.
Do not climb onto a wet or icy roof. Use binoculars or a zoom camera for elevated areas, and have damaged roofing, loose gutters, or unsafe access evaluated by a qualified contractor.
2. Follow Every Downspout to Its Discharge Point
A downspout is only useful if it sends water to a safe location. Check for disconnected elbows, crushed extensions, open joints, missing splash blocks, buried outlets that no longer flow, and discharge points aimed toward steps, window wells, sidewalks, or neighboring low areas.
Extensions and underground piping should remain secure and maintain positive flow away from the building. The correct distance and discharge design depend on the lot, soil, slope, local requirements, and where the water can be released without creating erosion, ice, or a problem for another property.
3. Look for Settled Soil Beside the Foundation
Backfill around a home can settle over time. Even a shallow depression can collect irrigation, rain, and snowmelt against the wall. Walk the perimeter and look for low strips beneath roof edges, soil pulling away from the foundation, sunken planting beds, buried siding, and areas where mulch or rock hides the actual soil elevation.
Do not simply add soil without checking clearances at siding, stucco, vents, windows, and wood components. A grading correction should preserve required separation from vulnerable materials and direct water to a complete drainage route.
4. Check Window Wells and Below-Grade Openings
Window wells can collect water when covers are missing or damaged, drains are blocked, the surrounding grade slopes inward, or a downspout releases nearby. Inspect for debris, standing water, corrosion, displaced well walls, gaps, and signs that the well has filled during previous storms.
Keep emergency-egress requirements in mind. Do not reduce required access or install a cover that cannot be opened as intended. Recurring water in a well should be evaluated as a drainage problem, not merely removed after each event.
5. Clear Swales, Drains, and Surface Routes
A swale is a shallow landform designed to carry water. Landscaping, edging, stored materials, soil settlement, and vegetation can interrupt it. Trench drains and catch basins can also become clogged with leaves, sediment, roofing granules, and winter debris.
Trace the route from the highest point to the outlet. Water needs a continuous path. Clearing one inlet will not solve the problem if the pipe is collapsed, the outlet is buried, or the downstream grade rises.
6. Plan Snow Storage Before the First Storm
Where snow is piled determines where meltwater goes. Avoid storing large piles against the foundation, over window wells, across drainage swales, or at the low side of a driveway that directs water toward the garage. Keep discharge points visible so they can be checked during warm weather.
Pay attention to roof drift areas and places where wind repeatedly deposits snow. A location that stays dry during summer rain may receive concentrated meltwater after a winter drift.
Exterior Warning Signs to Document
Photograph and date conditions such as:
Ponding water beside the foundation or garage
Erosion channels below downspouts or roof valleys
Soil settlement that creates inward slope
Efflorescence, staining, peeling paint, or dampness on basement walls
Musty odors or recurring high humidity in the lower level
Wet window wells or water marks below a basement window
Cracks that leak only during storms or snowmelt
These observations help a contractor connect the indoor symptom to exterior weather, drainage, and site conditions. Moisture can also come from plumbing, groundwater, condensation, or building-envelope defects, so avoid assuming that every damp basement has one cause.
What a Professional Drainage Evaluation Should Include
A useful evaluation begins with elevations and water paths rather than a single product. The contractor may review roof runoff, downspout capacity and discharge, surface grades, soil settlement, window wells, swales, drains, hardscape transitions, irrigation, snow storage, and visible foundation conditions.
Potential scopes may include extending or repairing downspouts, correcting localized grade, restoring a swale, adding a properly designed drain, coordinating waterproofing, or addressing settled flatwork. The solution should identify where water comes from, where it will go, and how the outlet will remain serviceable.
Frequently Asked Questions
Does a damp basement always mean the foundation is failing?
No. Moisture can result from surface drainage, roof runoff, plumbing, condensation, groundwater, wall penetrations, or foundation defects. The pattern, timing, and location should be evaluated before selecting a repair.
Can I solve drainage by adding soil against the house?
Sometimes localized grading is part of the solution, but adding soil without checking siding, stucco, window, vent, and drainage clearances can cause new problems. The correction needs a safe outlet and appropriate material placement.
Should downspouts discharge into the foundation drain?
Not automatically. Roof-water and foundation-drain systems serve different purposes, and incorrect connections can overload or back up the system. The design should follow site conditions and applicable requirements.
When should I call a contractor?
Call when water repeatedly collects beside the house, basement moisture follows storms or thaws, grades slope inward, drains do not flow, window wells fill, or the correction requires excavation or elevation changes.
Move Water Away Before Snow Hides the Problem
A dry lower level depends partly on what happens outside. Working gutters, reliable downspout discharge, positive grade, open drainage routes, and thoughtful snow storage reduce avoidable water exposure at the foundation.
Contact Skyline Construction for a drainage and site-work evaluation in Casper.
Skyline Construction LLC
259 S Center, Ste 201, Casper, WY 82601
(307) 225-9399