
Where Cold Air Enters a Casper Home: Exterior Gaps to Fix Before Winter
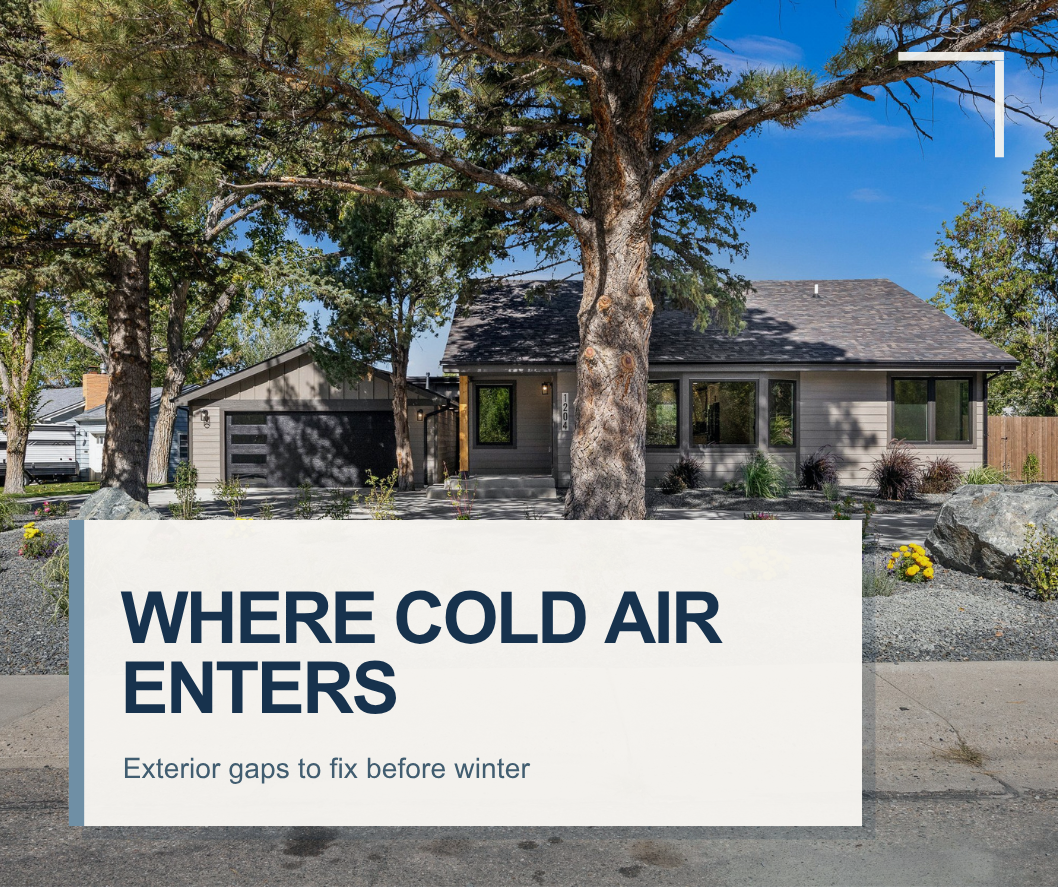
A Casper home can feel drafty even when the furnace is working properly and the attic has insulation. The missing piece is often air sealing: small openings in the exterior shell allow cold outdoor air to enter while heated indoor air escapes. Wyoming wind can make those weak points much easier to notice.
The challenge is that the opening you feel indoors may not be directly opposite the exterior gap. Air can move through wall cavities, floor systems, chases, and framing connections before it reaches a room. That is why successful home weatherproofing in Casper, WY starts with the building as a complete system—not with random tubes of caulk.
This guide explains where exterior air leaks commonly develop, which warning signs homeowners can check safely, and how targeted repairs can improve comfort before winter. For a broader seasonal walkaround, use Skyline’s pre-winter exterior checklist alongside this guide.
Why Small Exterior Gaps Matter in a Casper Winter
Air leakage is different from heat moving through a solid material. Insulation slows heat transfer through walls and ceilings; air sealing limits uncontrolled airflow through cracks, joints, and penetrations. A home can have plenty of insulation and still feel uncomfortable if wind is pushing air through gaps in the exterior enclosure.
Common symptoms include cold floors, rooms that never feel as comfortable as the thermostat setting, curtains that move near a closed window, whistling around doors, dust collecting at trim lines, and noticeable temperature differences between rooms. Some gaps also create pathways for wind-driven moisture, insects, and blowing dust.
Weatherproofing should control unwanted airflow without blocking components that are intended to drain, dry, exhaust, or ventilate. Soffit vents, roof vents, appliance exhausts, weep openings, and drainage paths must continue to perform their designed functions.
1. Window Perimeters and Moving Parts
Windows are one of the first places homeowners check, but the glass itself is not always the source of a draft. Air can enter at several layers: between the sash and frame, around weatherstripping, behind interior trim, between the window unit and rough opening, or where exterior trim meets siding, stucco, or masonry.
From outside, look for cracked or missing sealant, separated trim joints, damaged flashing, loose cladding, peeling paint, stains, or gaps that appear wider on one corner. From inside, check whether the window closes fully, locks securely, and compresses the weatherstripping evenly. Condensation between panes usually points to a failed insulated-glass seal; it is not the same problem as an air gap around the frame.
A small, isolated exterior joint may need cleaning, proper preparation, and a compatible sealant. A window that is warped, difficult to operate, repeatedly wet, or failing in several ways may need broader repair or replacement. Do not seal over manufacturer drainage openings or cover unexplained water staining.
2. Exterior Doors, Thresholds, and Garage-Adjacent Entries
Exterior doors have multiple moving connections, so small alignment problems can become obvious during windy weather. Check the top and sides for consistent weatherstrip contact, examine the bottom sweep, and confirm that the threshold is secure and properly adjusted. Daylight visible around a closed door is a clear sign that the seal is incomplete.
Door problems are not always solved by adding thicker weatherstripping. A loose hinge, shifted frame, worn sweep, damaged threshold, or latch that no longer pulls the slab tight can create the same symptom. Correcting alignment first often produces a cleaner and more durable result.
Pay attention to doors between the house and an attached garage as well. These openings are part of the separation between living space and the garage and should close and latch correctly. Any repair must preserve required safety features and should not interfere with the door’s rated assembly or self-closing function where applicable.
3. Siding, Stucco, Trim, and Material Transitions
The exterior wall is made of layers. Siding or stucco is the visible surface, but the complete assembly also relies on flashing, a weather-resistive barrier, sheathing, insulation, framing, and interior finishes. Air leakage often develops where those materials change direction or meet another component.
Inspect corners, band boards, trim returns, rooflines, deck connections, hose bibs, light fixtures, exterior receptacles, and the joints around windows and doors. Look for loose panels, cracks, open seams, failed sealant, exposed fasteners, soft trim, or staining. On stucco and EIFS, note new cracks, damaged edges, or separation at openings and penetrations.
Caulk should not be used as a universal cover. Some cladding joints need sealant; others are designed to drain or move. If a gap is connected to loose siding, failed flashing, rot, or recurring moisture, the underlying condition must be corrected before the finish is closed. Skyline’s guide to siding repair versus replacement explains how the location and pattern of damage affect the proper scope.
4. Utility Penetrations, Pipes, Cables, and Exterior Fixtures
Every pipe, wire, vent, conduit, faucet, and service line that passes through an exterior wall creates a transition that must be detailed correctly. Common examples include electrical service entries, refrigerant lines, plumbing penetrations, gas piping, cable lines, dryer vents, bath exhausts, outdoor faucets, lights, and receptacles.
From the ground, check for cracked sealant, oversized openings, loose mounting blocks, missing covers, damaged screens, or staining below the penetration. Repairs must remain compatible with the wall material and cannot restrict the operation of the equipment. Dryer and bath exhaust outlets, combustion-air components, and mechanical vents must never be sealed shut.
Foam alone is not always an exterior finish. Some products deteriorate in sunlight, absorb water, or require a protective sealant or cover. A durable repair may involve backing material, flashing, a mounting block, a compatible sealant, and restoration of the weather barrier—not simply filling the visible hole.
5. Roof-to-Wall, Soffit, Fascia, and Attic Transitions
Roof and wall systems meet at some of the most exposed parts of a home. Step flashing, counterflashing, roof edges, fascia, soffits, rake trim, chimney connections, and vent penetrations must manage both moving air and water. Wind can exploit loose metal, open joints, and damaged edge details.
Homeowners should inspect these areas only from the ground using binoculars or a zoom camera. Look for lifted or missing pieces, gaps at roof-to-wall intersections, loose soffit panels, stained fascia, damaged trim, or debris blocking vents. Do not climb onto the roof or use an unstable ladder.
Soffit and roof vents are intentional openings and should not be packed with insulation, foam, or temporary covers. The goal is to stop uncontrolled leakage at the ceiling and wall boundaries while keeping the roof’s designed ventilation path open. If roofing components are damaged or the work requires roof access, bring in a qualified professional. Review Skyline’s roofing services for installation and replacement information.
6. Foundation Lines, Rim Joists, and Lower-Wall Openings
Cold air often enters near the bottom of the house. The transition between foundation and framed wall, the rim-joist area, basement windows, crawlspace access doors, utility entries, and lower siding edges can all contribute. Indoors, the symptom may appear as a cold basement corner, a chilly floor above the foundation, or airflow near baseboards.
Outside, look for open joints, deteriorated sealant, damaged vents, missing covers, cracked window wells, or visible gaps around penetrations. Keep soil, mulch, and snow-storage areas below siding and trim clearances so moisture is not held against the wall. Do not close crawlspace or combustion-air openings without confirming the building’s ventilation and mechanical requirements.
How Homeowners Can Locate Drafts Safely
Start with observation before choosing a repair product. Pick a windy day, walk the interior perimeter, and note the rooms and exact locations where discomfort is strongest. Then compare those locations with the exterior conditions on the same wall.
Close and lock windows and exterior doors, then check for uneven contact or visible daylight.
Feel around trim, baseboards, outlet covers on exterior walls, and floor-to-wall joints without removing electrical components.
Look for moving curtains, dust lines, frost, peeling paint, or recurring condensation near openings.
Photograph exterior gaps, stains, loose materials, and failed sealant from safe ground-level positions.
Compare symptoms during calm weather and windy weather; changes can help identify wind-driven leakage.
Use a qualified energy professional for blower-door testing or thermal imaging when the source is unclear or widespread.
Avoid using an open flame to test for drafts. Also avoid removing siding, trim, electrical covers, or roofing materials unless you are qualified to do so. A visible opening may connect to wiring, flashing, drainage, or ventilation components that should not be disturbed casually.
What Targeted Exterior Weatherproofing May Include
The correct repair depends on the location, material, and cause of the opening. A professional exterior weatherproofing assessment may identify a combination of small maintenance items and larger construction repairs.
Adjusting doors, replacing worn sweeps, and restoring continuous weatherstripping.
Preparing and resealing appropriate joints around windows, doors, trim, and penetrations.
Repairing loose siding, cracked stucco, damaged trim, or failed mounting blocks.
Correcting flashing and drainage details where water and air are entering together.
Sealing accessible framing transitions from the appropriate side of the assembly.
Coordinating insulation improvements after uncontrolled air pathways are addressed.
Replacing components that are warped, deteriorated, or repeatedly failing.
Exterior coatings and sealants must be applied to clean, sound, compatible surfaces within the manufacturer’s temperature and moisture limits. If paint or stain is part of the repair, Skyline’s exterior paint guide explains why preparation and weather conditions matter.
Air Sealing Is Not the Same as Adding Insulation
Air sealing and insulation work together, but they solve different problems. Insulation slows heat transfer through the building assembly. Air sealing limits uncontrolled movement through openings. Adding insulation over a leaky ceiling, rim joist, or wall transition may leave the main comfort problem unresolved.
The sequence matters. First identify bulk-water problems, damaged materials, and required ventilation. Next correct uncontrolled air pathways using methods suited to each assembly. Then evaluate whether insulation levels and installation quality are appropriate. This order helps avoid trapping moisture or hiding a condition that needs repair.
When Repair Is Enough—and When Replacement Makes More Sense
Targeted repair is often reasonable when the problem is isolated, the surrounding material is sound, the drainage and flashing details are intact, and the opening can be restored with compatible products. Examples include one worn door sweep, a limited failed sealant joint, or a loose piece of trim with no concealed damage.
Replacement may be more practical when a window or door is warped or failing repeatedly, siding damage is widespread, trim is rotted, flashing is missing, or several layers of the assembly need to be opened and rebuilt. A good recommendation should explain the cause, repair boundaries, materials, preparation, and how the finished work will continue to drain and ventilate.
Prioritize the Work Before Cold Weather Arrives
Not every gap has the same urgency. Start with active water entry, loose exterior materials, damaged flashing, unsafe doors or steps, and openings large enough to admit pests or wind-driven precipitation. Next address the most noticeable comfort problems and recurring failures. Cosmetic touch-ups can follow after the exterior is sound.
Fall work also depends on product requirements and weather. Sealants, coatings, adhesives, and repair materials need suitable surface temperatures and curing conditions. Planning early gives the contractor time to diagnose the cause, order compatible materials, and complete weather-sensitive work before sustained cold limits the options.
Frequently Asked Questions
Why does my house feel drafty even with new insulation?
Insulation may be present while gaps remain at windows, doors, rim joists, attic transitions, wall penetrations, or framing connections. Air can bypass insulation through those openings. A focused air-sealing evaluation can help distinguish uncontrolled airflow from an insulation problem.
Should I caulk every exterior crack I can see?
No. Some joints need compatible sealant, while others are intended for drainage, movement, exhaust, or ventilation. Determine what the opening does and why it exists before sealing it. Never block weep openings, soffit vents, roof vents, dryer outlets, or combustion-air components.
Can drafty windows be repaired, or must they be replaced?
It depends on the source. Worn weatherstripping, alignment problems, or a limited perimeter joint may be repairable. Warped frames, failed insulated glass, recurring leakage, deterioration, or widespread installation problems may support replacement. The unit and the surrounding opening should be evaluated together.
What is the best time to weatherproof a home in Casper?
Mild, dry weather is generally helpful because exterior materials can be inspected clearly and many sealants and coatings have minimum application and curing temperatures. The right timing depends on the repair, surface conditions, product instructions, and forecast.
Who should inspect hard-to-reach exterior gaps?
Bring in a qualified contractor when the condition involves roof access, tall ladders, structural movement, active leakage, electrical or mechanical penetrations, widespread cladding removal, or unclear moisture pathways. Safe access and correct diagnosis matter more than a quick surface patch.
Prepare Your Casper Home for Winter
A comfortable home depends on many small exterior details working together. Windows and doors need continuous seals. Siding, stucco, trim, flashing, and penetrations need to manage wind and moisture. Roof and soffit assemblies need to stay weather-tight without losing required ventilation.
If you are noticing drafts, loose exterior materials, recurring sealant failure, or cold rooms near exterior walls, contact Skyline Construction to discuss an exterior weatherproofing assessment for your Casper-area home.
Skyline Construction LLC
259 S Center, Ste 201
Casper, WY 82601
(307) 225-9399