
Siding and Stucco Cracks Before Winter: What Casper Homeowners Should Watch
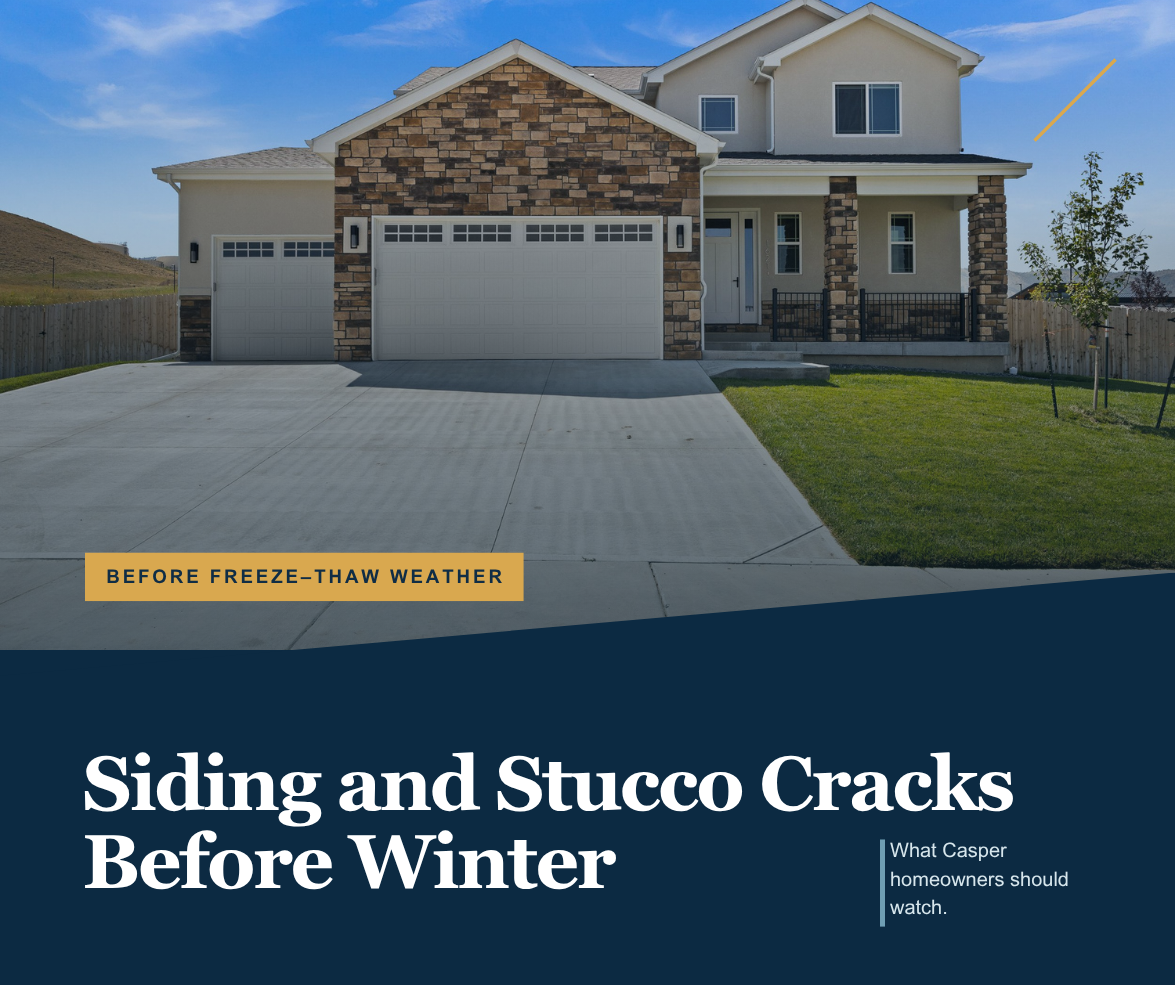
What Casper homeowners should watch before freeze-thaw weather
A crack in siding or stucco is not a diagnosis by itself. Some marks are limited to a finish layer or an isolated impact. Others appear at joints, openings, corners, or transitions where water and air can reach deeper parts of the wall. The location, width, pattern, movement, and surrounding symptoms determine how urgent the condition may be.
That distinction matters before a Casper winter. Wind can drive moisture toward small openings, and repeated freezing and thawing can worsen damage when water is already entering or materials are moving. The right response is not to cover every crack immediately. It is to identify the material, understand the wall assembly, document the condition, and repair the cause.
For homeowners searching for siding repair before winter in Casper, WY, this guide explains what to watch, what not to seal blindly, and when a professional evaluation is warranted.
The Exterior Finish Is Part of a Larger Wall System
Siding and stucco are visible protective finishes, but they do not work alone. Flashing, a weather-resistive barrier, sheathing, insulation, framing, sealants, trim, and drainage details help manage water, air, and heat. A crack at the surface may be harmless, or it may be the visible clue to a problem at one of those connections.
Exterior repairs should preserve the wall’s ability to drain and dry. Filling an opening without understanding the layers behind it can trap moisture, bridge a movement joint, block drainage, or hide continuing damage. Skyline’s guide to siding repair versus replacement provides a broader framework for choosing the right scope.
What to Look for in Siding
Different siding products show stress differently. Vinyl may crack, loosen, buckle, or pull away at locks and fasteners. Wood and engineered-wood products may split, swell, soften, cup, or lose coating at joints and cut edges. Fiber-cement can crack at corners, fasteners, butt joints, or impact points. Metal can dent, deform, corrode, or loosen at seams.
Walk each elevation from the ground and compare patterns. One isolated impact mark is different from a long row of cracked corners. A loose panel on the most exposed wall is different from widespread movement across the house. Photograph the defect with a wider view and a close view so its location and scale are clear.
Open seams or panels that move noticeably in normal wind.
Cracks that continue through trim, joints, or more than one component.
Bulging, buckling, waviness, or sections that no longer lie flat.
Softness, swelling, dark staining, peeling coating, or exposed substrate.
Repeated failure around windows, doors, lights, hose connections, vents, or utility penetrations.
Damage concentrated below roof edges, decks, gutters, or other possible water sources.
What to Look for in Stucco and EIFS
Stucco and EIFS surfaces can develop fine finish cracks, impact damage, open sealant joints, cracks at corners, or separation around windows and penetrations. Not every hairline mark means the wall is failing, but a new or changing pattern deserves attention.
Document cracks that are widening, recurring after repair, radiating from window or door corners, following a diagonal or stair-step path, or appearing with bulging, staining, softness, damaged edges, or interior moisture. Also inspect sealant joints where stucco meets windows, doors, trim, pipes, vents, decks, and dissimilar materials.
EIFS and traditional stucco are different assemblies and require compatible evaluation and repair methods. Patching the finish without confirming the substrate, reinforcement, drainage, and moisture condition can produce a short-lived repair.
Why Location and Pattern Matter
Cracks often form where stress concentrates: at openings, corners, long wall runs, changes in material, control joints, penetrations, and connections between old and new work. A crack directly below a failed gutter or roof transition raises different questions than an isolated surface mark in a protected location.
Compare the exterior with interior signs on the same wall. Watch for staining, peeling paint, soft trim, musty odors, dampness, swollen baseboards, or repeated condensation. A moisture symptom does not prove the crack is the source, but it increases the need to trace the water path before closing the surface.
Skyline’s article on where cold air enters a Casper home explains how exterior joints and penetrations can also affect comfort even when no obvious water damage is visible.
Freeze-Thaw Weather Can Enlarge Existing Problems
When water enters a crack or porous material and freezes, expansion can place additional pressure on the surrounding surface. Repeated cycles may widen weak areas, loosen patches, or expose more material. Wind-driven snow can also collect against lower walls, trim, and penetrations before melting.
The key issue is existing moisture entry. A sound wall with properly detailed joints, drainage, and compatible finishes is better prepared for winter than one with open transitions, damaged flashing, or saturated materials. Prioritize the path that allows water in rather than treating freezing as the only cause.
Do Not Cover the Evidence Too Quickly
A tube of caulk or a thin surface patch can make a crack disappear temporarily, but it may not address movement, missing flashing, damaged sheathing, failed sealant geometry, or incompatible materials. Some joints are designed to move, while others are designed to drain. Both can be harmed by the wrong repair.
Before sealing, cleanly document the area, note when it first appeared, and watch whether it changes with wind, precipitation, or temperature. If the area is wet, soft, bulging, structurally displaced, or connected to active interior leakage, bring in a qualified contractor before disturbing it.
A Practical Ground-Level Inspection
Walk every elevation and photograph the full wall before taking close-up images.
Check corners, lower edges, rooflines, and transitions between siding, stucco, stone, masonry, and trim.
Inspect around windows, doors, vents, pipes, lights, receptacles, decks, and hose connections.
Look for stains, peeling coatings, soft material, rust, loose fasteners, open joints, and displaced flashing.
Compare exterior defects with interior moisture or comfort symptoms on the same wall.
Recheck documented cracks after major wind, precipitation, or temperature changes.
Remain on the ground. Use binoculars or a zoom camera for upper walls and roof transitions. Do not climb an unstable ladder, remove cladding, probe electrical penetrations, or open a wet wall without proper training and protection.
What a Professional Evaluation Should Resolve
A useful evaluation should identify the material and assembly, determine whether the condition is surface-level or extends behind the finish, and explain the likely cause. When moisture is suspected, the contractor may need to assess flashing, sealants, drainage, sheathing, trim, and adjacent roof or deck connections.
Is the crack stable, active, isolated, or repeated across the elevation?
Is water or uncontrolled air reaching the wall assembly?
Are flashing, drainage, sealant joints, or clearances contributing to the problem?
Can the existing material be matched and integrated for a durable repair?
Does the repair require removal beyond the visible crack to reach sound material?
What conditions would change the scope after the wall is opened?
When a Targeted Repair May Be Enough
A focused repair may be appropriate when damage is isolated, the surrounding wall is dry and stable, the cause is confirmed, and compatible materials are available. Examples can include one damaged siding panel, a limited sealant joint, a small impact area, or a localized stucco patch with sound surrounding material.
The repair should restore more than appearance. It should correct the source, integrate with flashing and the weather barrier, preserve drainage and movement, match the required reinforcement or fastening, and finish the surface according to product instructions.
When Broader Repair or Replacement Makes More Sense
A larger scope may be justified when cracks are widespread or changing, several repairs have failed, siding is brittle or unavailable, the substrate is soft or wet, flashing is missing, or the wall must be opened to correct drainage and weather-barrier problems. The estimate should separate known work from allowances for concealed conditions.
Replacement does not automatically mean every elevation needs work. A qualified contractor should explain which walls or sections are affected and what evidence supports that boundary. The goal is the smallest complete solution that addresses the cause and leaves the wall able to manage water, air, and movement.
Plan Exterior Repairs Around Weather and Materials
Stucco materials, sealants, primers, coatings, adhesives, and replacement cladding have application and curing requirements. Cold surfaces, precipitation, dust, and strong wind can affect preparation and performance. A repair plan should include temporary weather protection and a realistic window for curing.
If coating work is involved, review Skyline’s exterior paint guide before choosing products or timing. Paint can protect a sound surface, but it cannot repair rot, stop an active leak, or stabilize a moving crack.
Frequently Asked Questions
Are hairline stucco cracks always serious?
No. Some fine cracks are limited to the finish, but location, pattern, change over time, and surrounding symptoms matter. New, widening, recurring, stained, soft, bulging, or moisture-connected cracks should be evaluated.
Can I caulk cracked siding before winter?
Only when the joint is intended to be sealed and the correct cause and product are known. Do not block drainage openings or seal over loose material, rot, failed flashing, or active moisture. Some siding systems need movement clearance rather than a rigidly filled joint.
What signs suggest water is getting behind the exterior?
Possible clues include recurring stains, soft or swollen trim, peeling paint, interior discoloration, musty odors, bulging finishes, and repeated failure near the same opening. These signs warrant diagnosis because the visible crack may not be the entry point.
Should siding or stucco repairs wait until spring?
Safety hazards, active leakage, loose materials, and open weather barriers should not be ignored. The appropriate repair timing depends on the material, forecast, access, and whether temporary protection can keep the wall dry until permanent work is completed.
Address Exterior Weaknesses Before Winter
Small surface wear and meaningful wall damage can look similar at first glance. The best next step is to document the condition, compare its pattern with surrounding moisture or movement, and repair the cause with methods suited to the specific siding or stucco assembly.
If you see cracked siding, damaged stucco, open joints, staining, or recurring exterior moisture, contact Skyline Construction for a siding or stucco evaluation in Casper.
Skyline Construction LLC
259 S Center, Ste 201, Casper, WY 82601
(307) 225-9399